


Photo by Markus Spiske on Unsplash
Redux in Next JS project. | Technical
Let's make Next Js frontend state management fluidic with Redux.


Let's make Next Js frontend state management fluidic with Redux.
Next JS, is a framework which has the potential of making it big. If you are a full stack developer who has worked with React JS, Node JS or Javascript can easily learn about Next JS code structure.
Next js in a layman’s language can be defined as a framework that gives you the ability to build fast web applications. With next js, we have the capability to write both frontend and backend code in the same code base which makes it easier to maintain the code.

Next Js provide you with quick bootstrap code where you can kickstart building your project without worrying about hustling in setting up the project. Apart from the speed of development we also get various other benefits using Next Js, such as we can get pre-rendered pages for better SEO.
In this day and age, SEO is something we are looking after for better reach of our product. So it's a win for everyone. In this article, we won't be discussing Next JS setup and everything, as you can find tutorials for that very easily everywhere.
But the struggle of setting Redux with Next JS application. If you come from a react-redux background, you would be aware of the benefit that redux can have while building scalable applications. So without further ado let's get started.
Setting Up Next JS Project
The first and foremost step is that you should have a next js project at your disposal for practising the setup along with reading the tutorial as it will help you understand the concepts better.
Now for setting up the basic next js project we can simply use the following command i.e. npx create-next-app followed by the name of your new project.
Here you can see we are creating a project with the name redis-next-tutorial, just a random name. You can name it with any suitable project name of your choice.
npx create-next-app redis-next-tutorial
Once you run the above command on the terminal, you will get the following progress screen which is for letting us know what all things are getting instal.
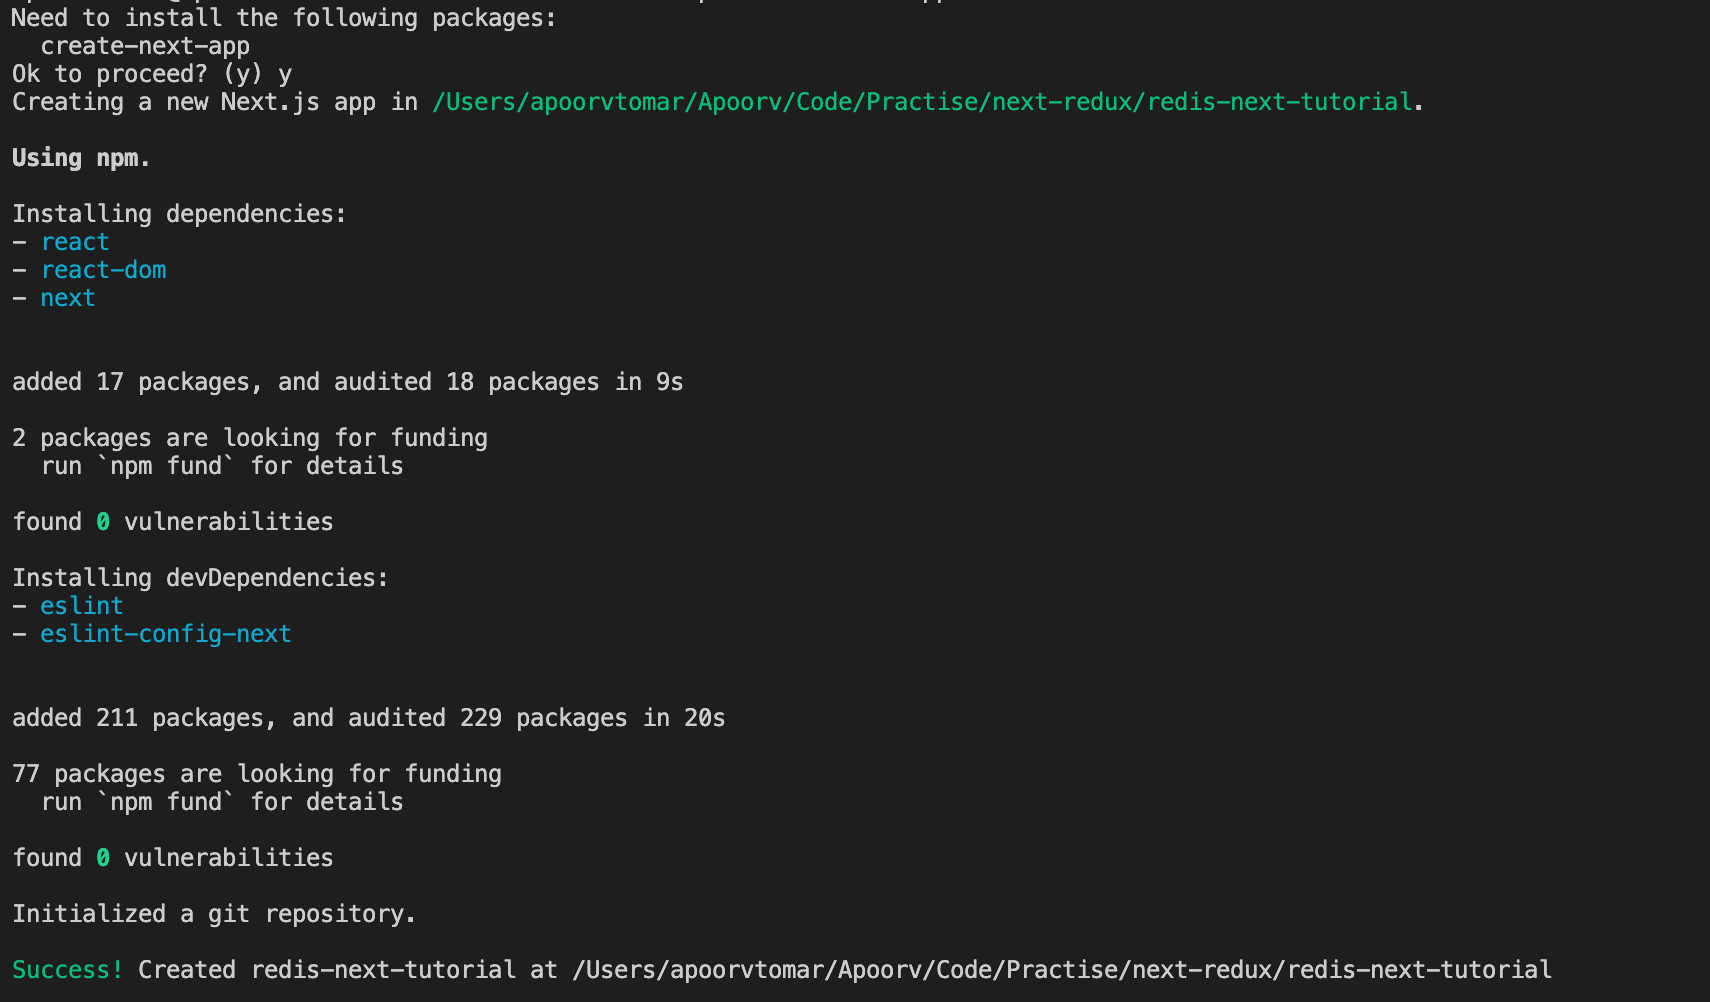
Most things are done, and you will be able to see a folder named redis-next-tutorial in your file system. You can open the code in any of the code editors of your choice and go through it at least once.
Installing Redux
Now once the basic code setup is done, our code is ready to take the react code and APIs. It's the right time that we can install redux to our code base using the following command.
Following is the widely used package by the community for connecting react applications with the redux store.
npm i react-redux**
Once done with the above step we are done with the react-redux basic installation for our project.
Setting up store.js
Following is the code for setting up the global redux store. The redux store has the code where we use methods such as creating the store and applyMiddleware. The will help us initialise the global store that the components will be utilising.
So here you can also check that middleware logic that we have imported from a different folder, along with the reducers logic. The code of both middleware and reducer will check in the later part of the tutorial.
Now for this reducer setup, we can remove the logic for the reducer since we aren’t utilising any specific middleware like react thunk, saga etc as that is out of the scope of this tutorial.
So in short we can say this store.js file is the bootstrap code for our global store.
import { createStore, applyMiddleware } from 'redux';
import { Middleware } from 'middlewares/index';
import { rootReducer } from 'reducers';
import { composeWithDevTools } from 'redux-devtools-extension';

const CombinedMiddleware = applyMiddleware(...Middleware);
export const store = createStore(
    rootReducer,
    composeWithDevTools(CombinedMiddleware)
);
Reducer
Let's create a reducer folder, where we will keep all the reducer-related code. Here you can check that we have the user combineReducers method which is used to combine all the sub-reducers.
The purpose of creating multiple reducers is to keep the code clean and at last, we combine it in our root reducer. Here as discussed in the rootReducer you can check that all the sub-reducers are combined and exported. Which in turn are imported into the store js file as seen in the above section.
import { combineReducers } from "redux";
import { auth } from "./auth";

export const rootReducer = combineReducers({
authReducer: auth
});
Connect Method
Once we are done with our redux setup, it's time to connect our component with the redux store.
Here in the example below, you can check that I have imported connect method from react-redux. We can map the local state with the global state by passing parameters in our connect method.
import React from 'react';

import { BrowserRouter } from "react-router-dom"

import PropTypes from 'prop-types'

import NavBar from 'containers/NavBar';

import CustomRoutes from 'routes';
import Spinner from 'components/Spinner';
**import { connect } from 'react-redux';**

import './App.css';

function App(props) {
return (

   {/* Loader, when any api call is made */}
   {props.loading && <Spinner />}
   <div className="wrapper">
   </div>
);
}

App.propTypes = {
    loading: PropTypes.bool,
}

App.default = {
    loading: false,
}

function mapStatesToProps(state) {
   return {
       loading: state.App.loading,
   }
}

const mapDispatchToProps = {
}

**export default connect(mapStatesToProps, mapDispatchToProps)(App);**
Here we have mapped two methods which we have passed in our connect function i.e. mapStatesToProps and mapDispatchToProps. One method is used to map the global state to local methods.
Also when we create action in our application, we can use either react-thunk or react-saga middleware which provides you with better implementation of actions.
Final Thoughts
So basically in this tutorial, all we have done is set up redux with our next js project. Now to make the project development ready you also need to implement either react-thunk or react-saga.
As we need some action to update the state in the reducer. As we don't directly update the state in the redux global state. Hopefully, I will release the tutorial for setting up react thunk along with the Next JS project very soon. Stay tuned till then.
About The Author
Apoorv Tomar is a software developer and part of Mindroast. You can connect with him on Twitter, Linkedin, Telegram and Instagram. Subscribe to the newsletter for the latest curated content. Don’t hesitate to say ‘Hi’ on any platform, just stating a reference of where did you find my profile.